Have you recently installed Linux on your system, but are now struggling to figure out how to install applications? Perhaps you’ve tried searching for installation files like you would on Windows, but to no avail. Don’t worry, because in this blog, I’ll show you how to install applications on Linux using various methods such as package managers, Flatpak, App Images, and Snap Packs.
By the end of this article, you’ll have a better understanding of how to install applications on your Linux system and be able to easily access and use the software you need.
Installing Applications:
Installing applications on Linux is a breeze, with a plethora of options available to users. You can download and install applications from various sources, giving you complete control over your system. However, the one constant is the need for the command line interface, which can be intimidating for some users. While graphical user interfaces are available, they may not be the best option. Therefore, it is crucial to become familiar with the command-line interface to get the most out of Linux.
In this blog, we will explore the different methods available for installing applications on Linux, demystifying the command-line interface and helping you become a more proficient user. Whether you are a beginner or an experienced user, this blog will equip you with the knowledge to install applications on Linux with ease.
So, let’s dive in and discover the different ways you can install applications on Linux and how to make the most of the command-line interface.
Application Source:
If you’re new to Linux, it’s natural to feel overwhelmed by the different methods of installing applications. However, finding the commands to install applications is easier than you might think. You can easily find the necessary commands through Google or by visiting the official app store website, which will list all the required commands for you.
There are several ways to install applications on Linux, including:
- Flatpak Packages
- Snap Packages
- AppImages
- AUR (Arch User Repository)
- Pacstall
- Distro Package Manager All of the above-listed sources need to be installed on your system before you can begin installing applications. While each source comes with a graphical user interface, the command line interface is generally faster and easier to use for installing applications.
By following this comprehensive guide, you’ll be able to find the application sources you need and start installing applications on your Linux system with confidence.
Flatpak Packages:
Flatpak is a framework for distributing desktop applications across various Linux distributions. It has been created by developers who have a long history of working on the Linux desktop, and is run as an independent open source project.
Target audience
Flatpak can be used by all kinds of desktop applications, and aims to be as agnostic as possible regarding how applications are built. There are no requirements regarding which programming languages, build tools, toolkits or frameworks can be used.
While Flatpak only runs on Linux, it can be used by applications that target other operating systems, as well as those that are Linux-specific. Applications can be open source or proprietary (although some distribution services, like Flathub, can have restrictions in this respect).
Installing Flatpak:
To install flat on your system follow these instrutructions.
Debain
Use this command to install flatpk
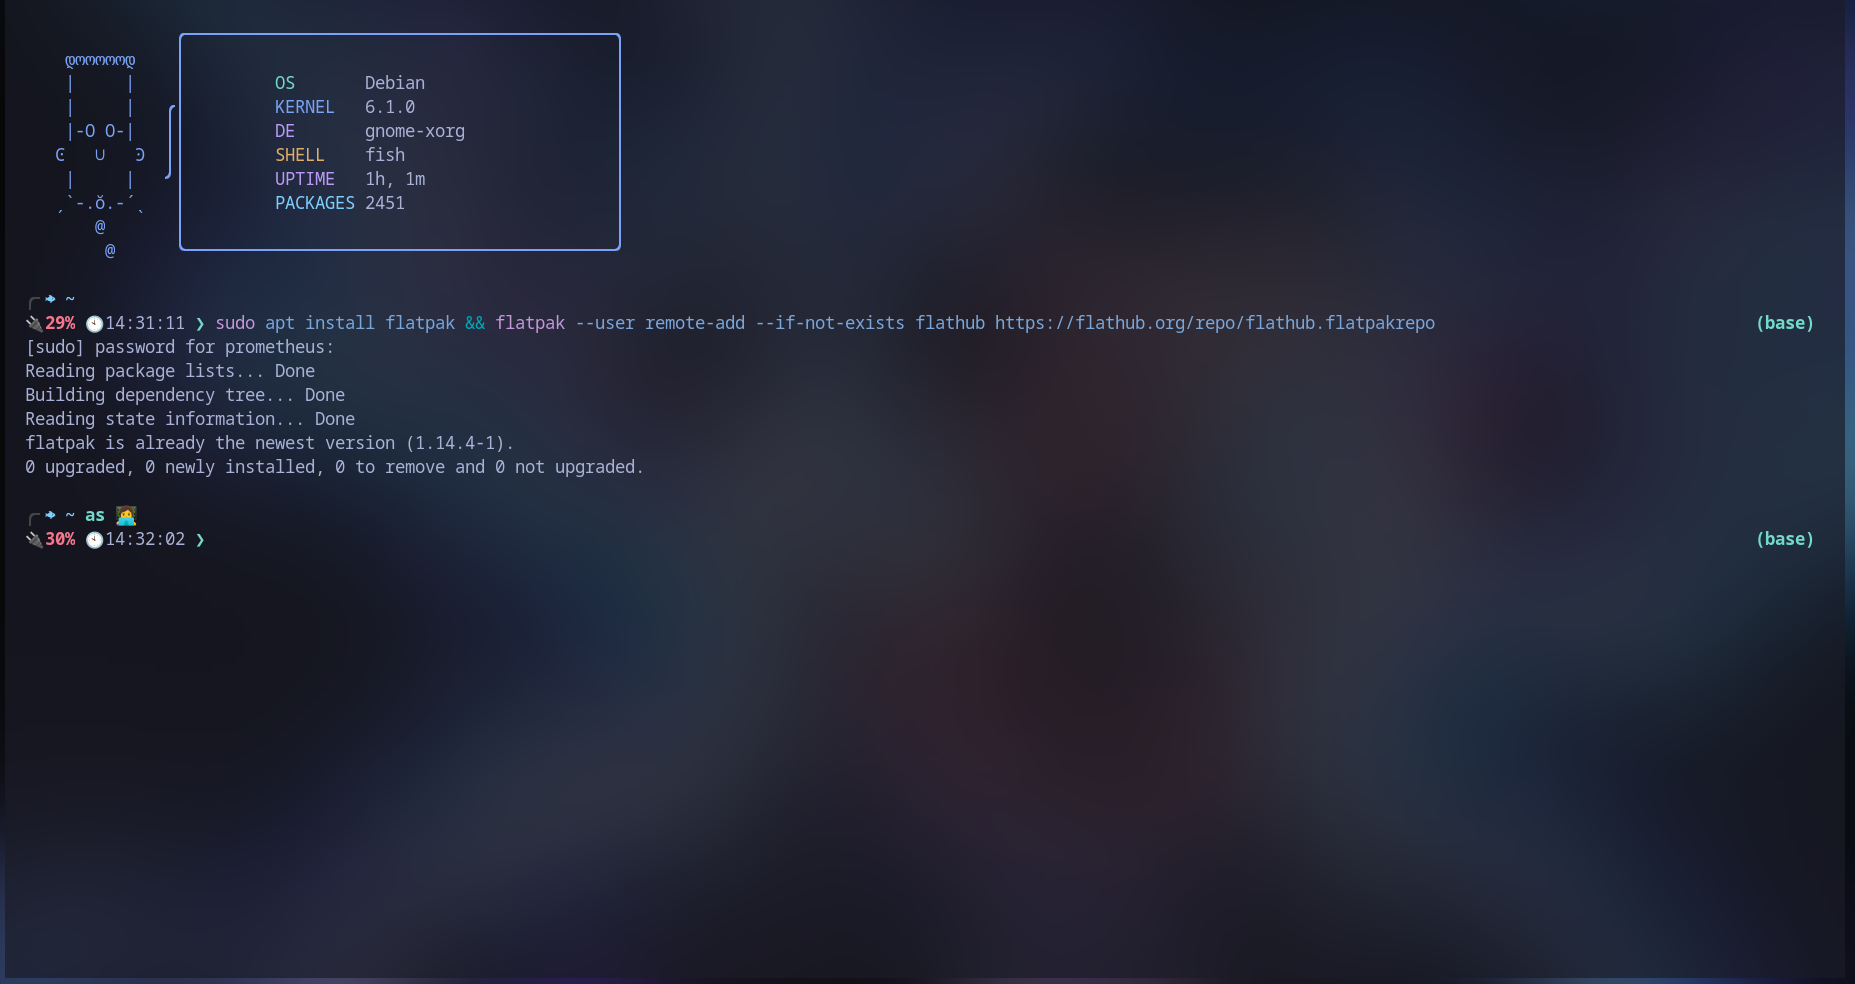
sudo apt install flatpak
Use this command to enable flatpak hub on your system.
flatpak --user remote-add --if-not-exists flathub https://flathub.org/repo/flathub.flatpakrepo
Arch
To install Flatpak, enter this command in your terminal
sudo pacman -S flatpk
Enable flatpak repo, enter this command in your terminal
flatpak --user remote-add --if-not-exists flathub https://flathub.org/repo/flathub.flatpakrepo
Install Application using Flatpak
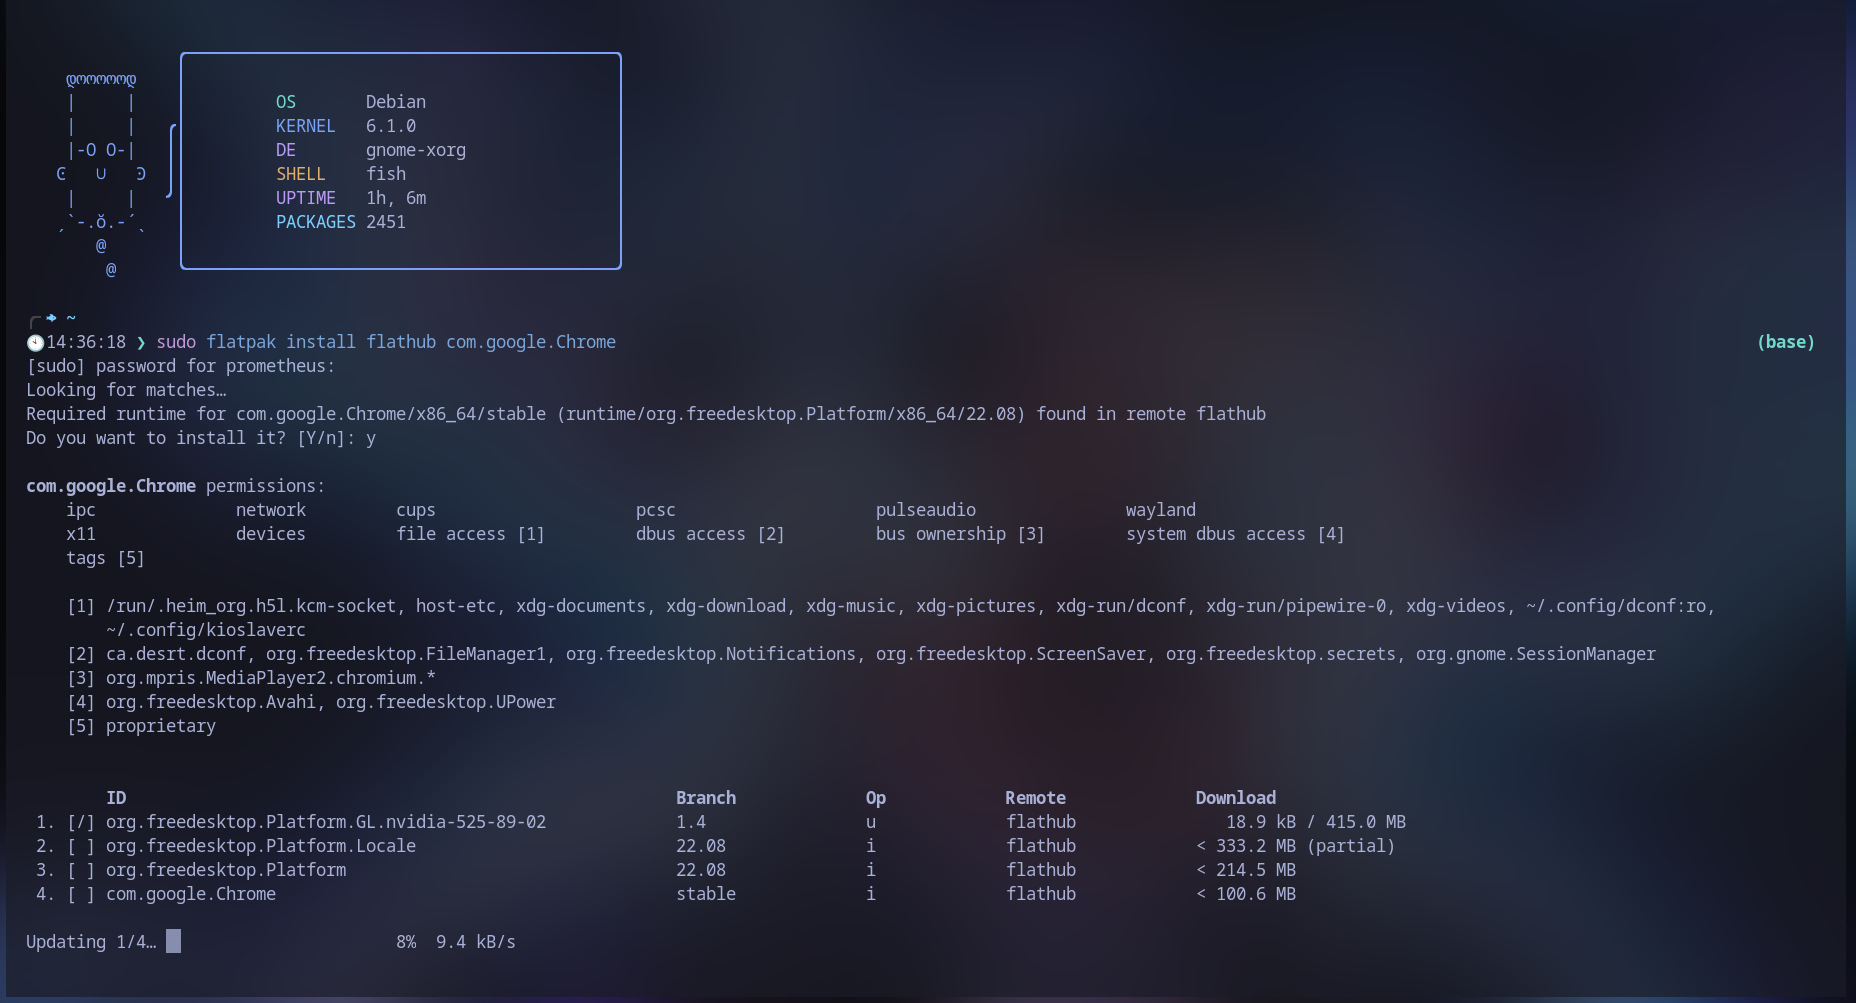
To install an application using flatpak just enter this command.
sudo flatpak install <package name>
Just change the
sudo flatpak install googlechrome
Flatpak are fast and easy to learn with an online store from which you can find the commands to isntall applications on your system. The process to install flatpak is the same and on every distro, Debian or Arch.
You can find the online store by clicking here
Snap Packs
Snaps are a secure and scalable way to embed applications on Linux devices. A snap is an application containerised with all its dependencies. A snap can be installed using a single command on any device running Linux. With snaps, software updates are automatic and resilient. Applications run fully isolated in their own sandbox, thus minimising security risks.
Snaps are hosted in the global Snap Store, an application repository hosted and managed by Canonical, and are free for anyone to download. Snaps can be created by anyone - existing software can be packaged as a snap or new software can be built from scratch using snap packaging.
Install Snap Packs
Debian
To install snap pack on your debian or ubuntu based distro, enter the following command in your terminal.
sudo apt install snapd
Arch
Install Snap pack and snap store, enter the following commands into your terminal.
sudo pacman -S snapd
Install Application Using Snap Packs
Using snap pack you can install applications and it is very easy just enter the package name and snap will begin to install on ypour system.
sudo snap install <package name>
Just change the
Example This is the example to install an application using snap packs.
sudo snap install spotify

Snap packs are free, secure, and do not affect your system in any way, plus they have an online store through which you can search for the command that will help you install the application on your system. You can access the Snap Store online by clicking here.
Arch User Repository(AUR)
The AUR, which stands for Arch Unit Repository, is used to install software pertinent to Arch Linux and otherArch distributions in the Linux operating system. But, before diving deep into the procedure for using AUR with Arch Linux, it is crucial to comprehend the concept of the AUR. Using the AUR not only enhances the efficacy of the system, but it also provides easy installation of various applications and packages. This guide provides an introduction to AUR, methods for using the AUR, and reasons to opt for the AUR. The step-by-step procedure provided in this article will allow you to run and install apps effectively via the AUR and its respective packages.
The AUR constitutes an important part of the overall Arch Linux nexus. Inherently, the AUR is a community-driven repository that hosts a versatile range of installation packages in the Arch Linux operation system. The AUR also allows you to host packages extrinsic to the domain of the official Arch Linux database. One beneficial factor of the AUR is that most of the packages in this repository adhere to the AUR before officially becoming part of the Arch Linux database.
This conventionally follows the sequential criteria constituting the three cardinal packages. PKGBuilds allows the user access to the package source through the makepkg, and you can install the software or application by incorporating Pacman, the root package manager of the Arch Linux operating system.
The core purpose of the AUR is to delegate the information of community packages for the deposition of such packages in the repository of a community depository, along with the Linux database. The AUR community can select packages to become a part of the community repository, given the attributes of prevalence and license authenticity.
Using AUR
The AUR can assist greatly in downloading and installing programs and packages in Arch Linux and its associated distributions, such as Manjaro. You can install the AUR by following the two steps listed below:
Step 1: Install AUR
Step 2: Enable AUR
Installing AUR:
In order to use AUR you need a aur helper and there are multiple option out there, so you can choose anyone, Some of them are
- Paru
- Yay
Before installing an AUR helper, you need to obtain the base package by using the following command.
sudo pacman -S base-devel git
Install Yay
Now to install an AUR helper, you must clone this repository on your system, enter the folder, and then compile and package to install Yay on your system.
git clone https://aur.archlinux.org/yay.git
cd yay
makepkg -si
###/# Install Paru Now to install an AUR helper, you must clone this repository on your system, enter the folder, and then compile and package to install Yay on your system.
git clone https://aur.archlinux.org/paru.git
cd paru
makepkg -si
No Matter which AUR helper you are using the process remain the same and you find then all of the realtive application on AUR webiste.
Installing Application Using AUR
For this example I will be using paru as the aur helper and install google chrome as the example to install an package. Basic Syntax
paru -S <package name>
You can change
paru -S google-chrome
If you want to use Yay, then replace Paru with Yay, and you will start using Yay as your AUR helper. Want to find the name of the package? Check out the AUR home page to find the name of the application by clicking here.
Pacstall
If AUR is for Arch and an Arch-based distro, then what about Debian and a Debian-based distro? While for them there is something called Pacstall. It’s great, and you can find a lot of software on PacStall—not as much as AUR, but still a lot.
Isntall Pacstall
You can download pacstall on your system just by entering this command on your system.
sudo bash -c "$(curl -fsSL https://git.io/JsADh || wget -q https://git.io/JsADh -O -)"
uninstall Pacstall
To remove pacstall from your system then enter the following command in your terminal.
bash -c "$(curl -fsSL https://git.io/JEZbi || wget -q https://git.io/JEZbi -O -)"
Basic Commands
These are some basic commands that can be used when you are using pacstall.
Install Application
pacstall -I <package_name>
Remove Application
pacstall -R <package_name>
Search Applications
pacstall -S <package_name>
To do any function just change <package_name> to the actuall package name.
Installing Application using Pacstall
To install an application on your system then enter the following command on your terminal.
pacstall -I google-chrome-deb
To find the package name, you can check out their website. You can check it out by clicking here.
App Images
AppImage is a tool that lets you run applications in a consistent way across any Linux distribution. It also works on Windows if you install Windows Subsystem for Linux, although AppImage is not designed for use on Windows and may not always prove stable or reliable in Windows environments.
This means that, using AppImage, you can run any software package that is designed to work with AppImage, regardless of which Linux distribution you are using or how your local environment is configured.
How to use AppImage in Linux
Using AppImage is pretty simple. It is done in these three simple steps:
- Download AppImage file
- Make it executable
- Run it
Don’t worry, I’ll show you how to run AppImage in detail. I am using Ubuntu 22.04 in this AppImage tutorial, but you can also use the same steps on other Linux distributions. After all, the entire point of AppImage is to be independent of the distributions.
Running And Downloading App Images
Step 1: Download the .appimage package
There is plenty of software that is available in AppImage format. Krita, Kdenlive, and OpenShot are just a few names. You can find an extensive list of applications available in AppImage format here.
I will be using the OpenShot video editor in this tutorial. You can download it from its website.
Step 2: Make it executable
By default, the downloaded AppImage file won’t have execution permission. You’ll have to change the permission on the file to make it executable. You don’t need root privilege to do that.
If you prefer the graphical way, just right-click on the downloaded .appimage file and select Properties. right click on appimage file and select properties
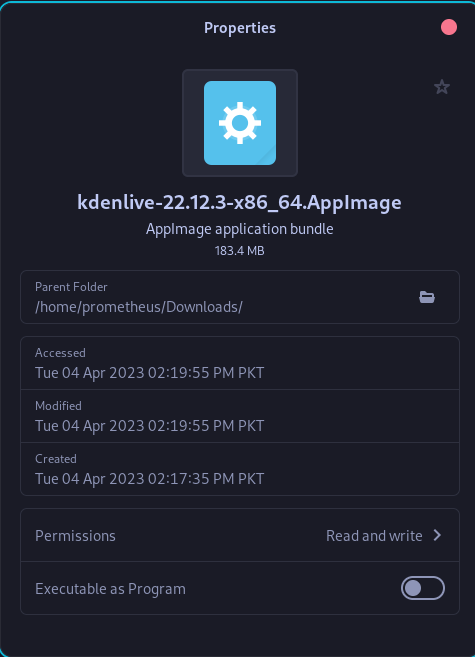
In the next screen, go to the Permissions tab and check the box that says “Allow executing file as program”.
Alternatively, if you prefer the command line, you can simply use the below command to make an AppImage file executable:
chmod u+x <AppImage File>
Package Manager
Another way you can install packages is by using the package manager. A package manager is a programme that is installed on your system and helps you install, uninstall, update, and upgrade your system.
The applications available to install using package manager can be different depending upon the distribution you are using. Some distributions have a lot of packages, while others have very few packages that you can install on your own Linux system.
Apt Packages Manager
For Debian and Debian-based distributions, all of them use apt as their package manager. Debian-based distributions are Ubuntu, Mint, Zorin, etc. All of these Linux distros use apt as their package manager, but they are not the same. They will work the same, but they don’t have the same number of packages that you install on your system. Developers fork (make a copy) the apt package manager and change it according to their own needs; some developers add more packages, while others make it more snappy. So it depends on the distribution that you are using. Debian Linux base distributions include over a million packages that you can install on your system.
Basic commands for apt
- Update the list of available packages and versions (it’s recommended to run this before other
aptcommands):
sudo apt update
- Search for a given package:
apt search {{package}}
- Show information for a package:
apt show {{package}}
- Install a package, or update it to the latest available version:
sudo apt install {{package}}
- Remove a package (using
purgeinstead also removes its configuration files):
sudo apt remove {{package}}
- Upgrade all installed packages to their newest available versions:
sudo apt upgrade
- List all packages:
apt list
- List installed packages:
apt list --installed
Pacman Packages manager
Just like on Debian and Debian-based distributions, there is apt as the package manager; similarly, on Arch, it has its own package manager called Pacman.
Pacman works very differently as compared to apt; the function is the same, but the working is totally different. Just like apt-get, which uses pacman, and other distributions that are based on it also use pacman, but the number of packages can be different. A developer will fork (make a copy of) Pacman and then tweak it according to their needs. The base pacman has over one million packages, and if something is not available in pacman, then you can use the AUR to install applications on your system.
Basic commands for pacman
- Synchronize and update all packages:
sudo pacman -Syu
- Install a new package:
sudo pacman -S {{package_name}}
- Remove a package and its dependencies:
sudo pacman -Rs {{package_name}}
- Search the package database for a regular expression or keyword:
pacman -Ss "{{search_pattern}}"
- List installed packages and versions:
pacman -Q
- List only the explicitly installed packages and versions:
pacman -Qe
- List orphan packages (installed as dependencies but not actually required by any package):
pacman -Qtdq
- Empty the entire pacman cache:
sudo pacman -Scc
Conclusion:
There are multiple ways you can install software on Linux, and there are some pros to this system. Choose your format, test it, and experience the way the applications are installed on your system. It does not matter which format you use; all you need is software to get your job done. To be honest, I am on Debian and I use all of these formats: Flatpak, Snap, and even Pacstall. I use apt (package manager) as well to download my software. You need software, and now you have it on your system. So I hope you have learned something.
With that, we will see you next time.❤️❤️
Credit:
This article was written by Abdul Rafay and published on Future Insight.
Contact Us:
If you encounter any issues or have any questions regarding any of the articles on this website, please do not hesitate to contact the website’s support team. Your feedback is important and the team is dedicated to providing prompt and effective assistance to ensure a positive user experience.
To access the contact page, simply click on the “Contact” tab in the navigation menu or visit the following URL: contact page. From there, you can fill out a contact form or find additional information on how to get in touch with the support team.
Don’t let any questions or concerns go unanswered - reach out to the support team for help and guidance. They are committed to providing excellent customer service and will do everything possible to ensure that you have a seamless experience on the website.
Thumbnail