If you love writing blogs, we invite you to join us and contribute your valuable insights. Here’s a guide on how to get started:
Getting the File:
To access the file, follow these steps:
- Clone or fork the repository.
- Switch to the “Blog” branch using the command:
git checkout Blog. - Now, you can create a new blog post by following this guide.
Creating a New Blog Post:
- Open your terminal.
- Run the following command to execute the script:
./blog_post_generator.sh - You can find the script in the main folder of the repository.
- The script will prompt you with a series of questions about your blog post and generate a new blog post accordingly.
- Once your blog post is created, you can open the file in your preferred text editor and start writing your blog.
The new blog post will be created in the “content” folder with your specified tags and blog post name. Open the file and start writing your blog using Markdown format.
Note: If you are new to Markdown, you can refer to the Markdown Guide for a quick reference.
Important Things to Consider:
- Provide the URL of your blog on the top of the file.
- Enter the title of your blog.
- Fill in your name in the author section.
- Add a thumbnail image in the “static” folder.
- Include images in your blog using the following syntax:
. - To view the blog on your local machine, change the “draft” field from “true” to “false”.
Updating the Credit Section:
In the blog post, please ensure to change the name in the credit section to properly attribute the author. Replace the placeholder with your name or the desired name you want to be credited.
Running Locally:
To run and check out your work on the Future Insight website locally, follow these steps:
-
Open your terminal or command prompt.
-
Navigate to the project’s root directory using the
cdcommand:cd /path/to/Future-Insight -
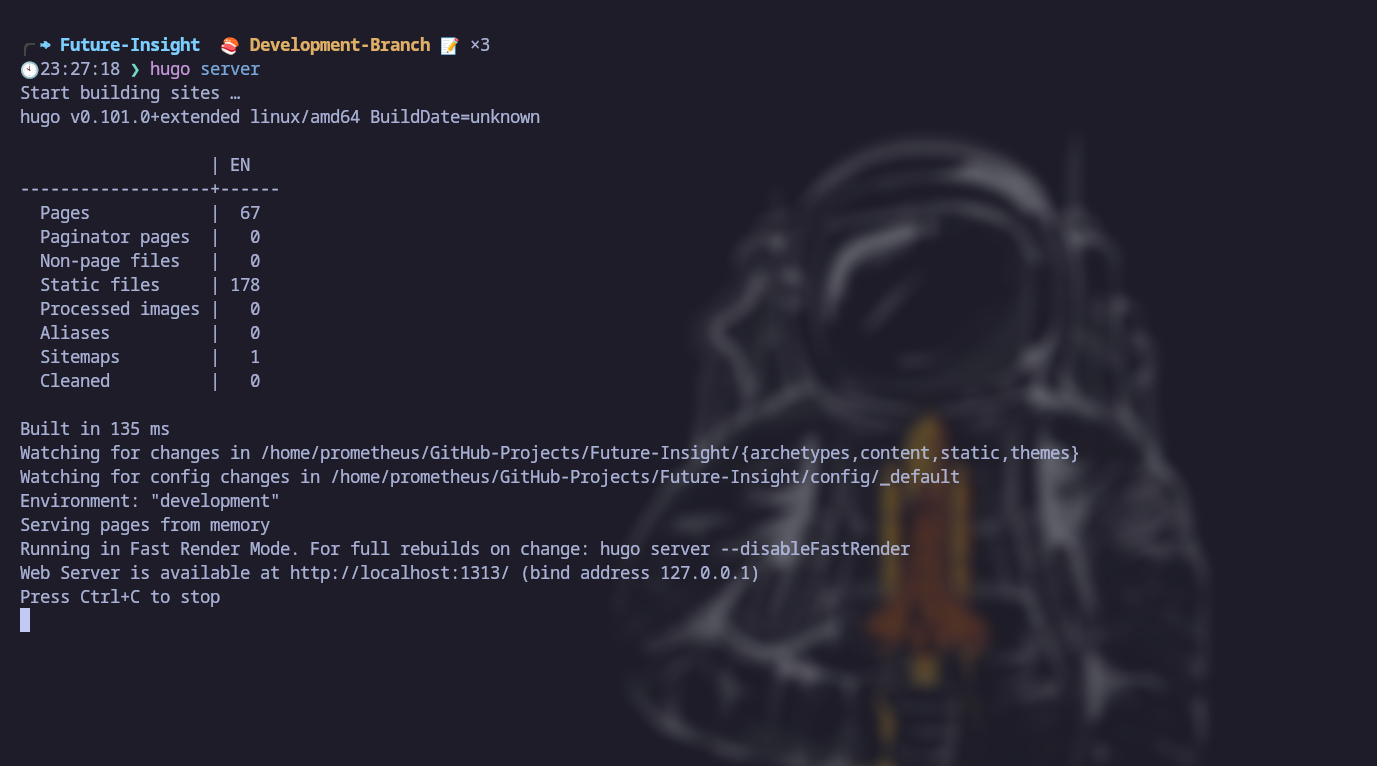
Start the Hugo server by running the following command:
hugo server -
After executing the command, you should see output similar to the following:
... Web Server is available at //localhost:1313/ (bind address 127.0.0.1) ... -
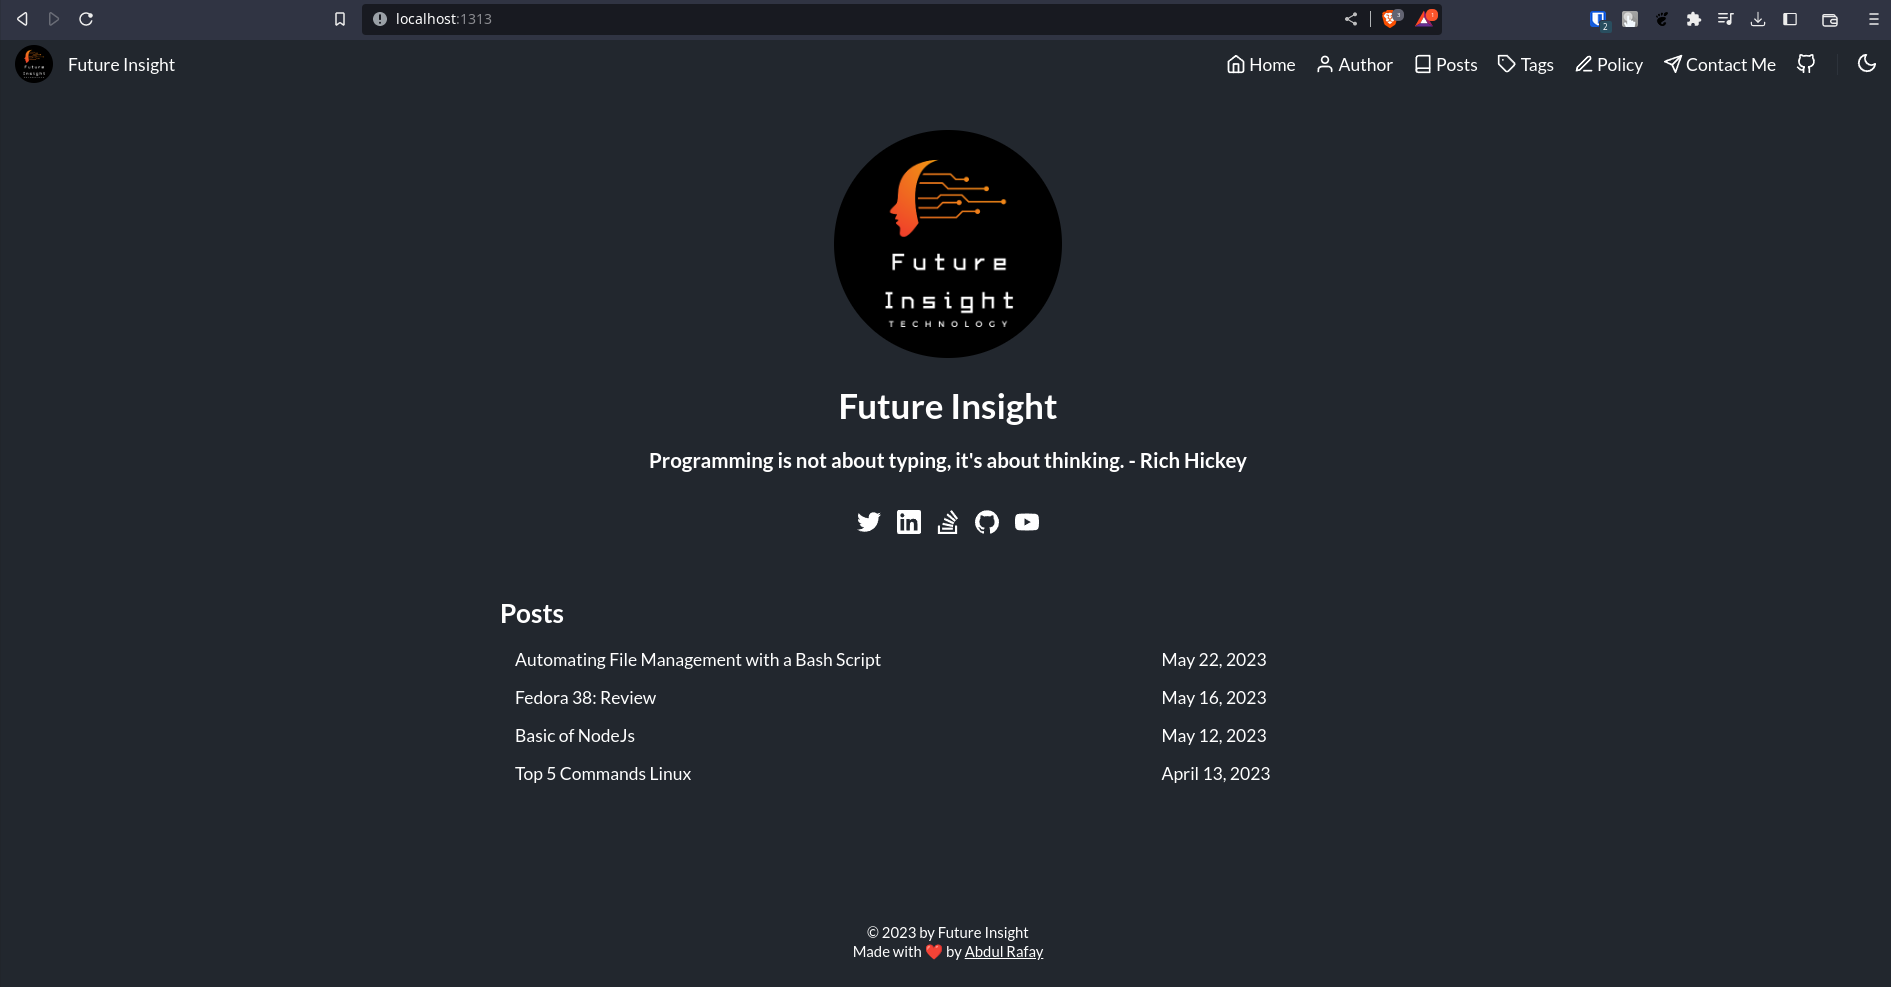
Open your preferred web browser and enter the following URL:
http://localhost:1313/ -
The Future Insight website will now be running locally on your machine. You can explore the different pages, navigate through the site, and interact with its features.
-
As you make changes to the code or content, the Hugo server will automatically rebuild the site, and you can see the updates by refreshing your browser.
By running the website locally, you can test and preview your changes before deploying them to a live environment. This allows you to ensure everything looks and functions as intended. Enjoy exploring your work on the Future Insight website!
Preview:
Terminal Commands:
Terminal Command to run hugo server
Local Server:
Browser view of the local server and port Number
Submitting the Blog:
You can submit your blog by creating a pull request to the “Blog” branch. Follow these steps:
- Use the following commands in your terminal:
git add * git commit -m "Your Commit Message" git push - Alternatively, you can run the script called “run.sh” located in the main folder.
The script will prompt you with questions and upload your blog post to GitHub.
./git_commit.sh
After creating the pull request from the “Blog” branch to the main repository, our team will review your blog post. If you have any doubts, feel free to ask in the issue section on GitHub or contact us via email.
Please refer to the documentation for the “git_commit” script to make any necessary improvements and enhancements. Happy blogging!
Note: To read about the script, refer to the documentation of Blog generator Script.