The world of Machine Learning and AI is rapidly evolving, with new tools and technologies being developed and released every day. However, there is one remarkable model that stands out among the rest: GPT-Model. This cutting-edge innovation has become the gold standard in the field.
But what exactly is a GPT-Model and what makes it so exceptional? GPT, which stands for Generative Pre-trained Transformer, is a state-of-the-art language model built on the transformer architecture. These models are designed to generate high-quality, coherent, and contextually relevant text by predicting the next word or token based on the given context.
GPT models have achieved unparalleled success in Natural Language Processing (NLP) tasks. Developed by OpenAI, they have revolutionized how machines understand and generate human-like text. The secret behind their extraordinary performance lies in their pre-training process. GPT models are trained on massive amounts of diverse text data, allowing them to capture grammar, facts, and contextual understanding.
By leveraging the power of GPT models, developers and researchers can unlock a wide range of applications in language generation, text completion, summarization, translation, and more. The versatility and accuracy of GPT models make them the go-to choice for many AI practitioners.
Moreover, GPT models come with an added advantage: API access. This means that anyone can access these models through a simple API request. Whether you need assistance in generating text, fine-tuning the model for domain-specific tasks, or exploring various NLP applications, GPT models offer a user-friendly and customizable experience.
To join the world of GPT models, simply visit the OpenAI website, log in with your Google account, and obtain your API key. With this key in hand, you can tap into the immense potential of GPT models and harness their state-of-the-art language generation capabilities.
Embrace the power of GPT models and unlock a new era of AI-driven language processing!
What are GPT Models?
GPT models are state-of-the-art language models based on the transformer architecture. They are designed to generate coherent and contextually relevant text by predicting the next word or token in a sequence based on the provided context. These models are pre-trained on vast amounts of text data, enabling them to capture grammar, facts, and contextual understanding.
In the world of Natural Language Processing (NLP), the emergence of GPT (Generative Pre-trained Transformer) models has revolutionized the way machines understand and generate human-like text. GPT models, developed by OpenAI, are at the forefront of cutting-edge language generation capabilities. This blog post aims to provide a comprehensive overview of GPT models, their architecture, training process, and their impact on various NLP tasks.
API Access
Now that you know what GPT models are and their awesome capabilities, these models are developed by an organization called OpenAI. But how can you get your hands on this kind of model? Well, you’re in luck! These models come with a special feature called API access.
This means you can use these models by simply making an API request. You can request text generation or perform other language-related tasks. What’s even more exciting is that you can fine-tune these models according to your specific needs. For example, if you work as a lawyer in this domain and have relevant data, you can fine-tune the GPT model to cater to legal contexts and get the results you desire.
Now you might be wondering how to obtain an API key. It’s pretty easy! Just visit the OpenAI website and log in with your Google account. Once you have your API key, you can start using GPT models and unlock their powerful language generation capabilities.
Creating an API Key on OpenAI
-
Visit the OpenAI website: Go to the OpenAI website at https://www.openai.com/.
-
Sign in to your account: Click on the “Sign In” button located at the top-right corner of the page. Enter your login credentials to sign in to your OpenAI account. If you don’t have an account, you’ll need to create one first.
-
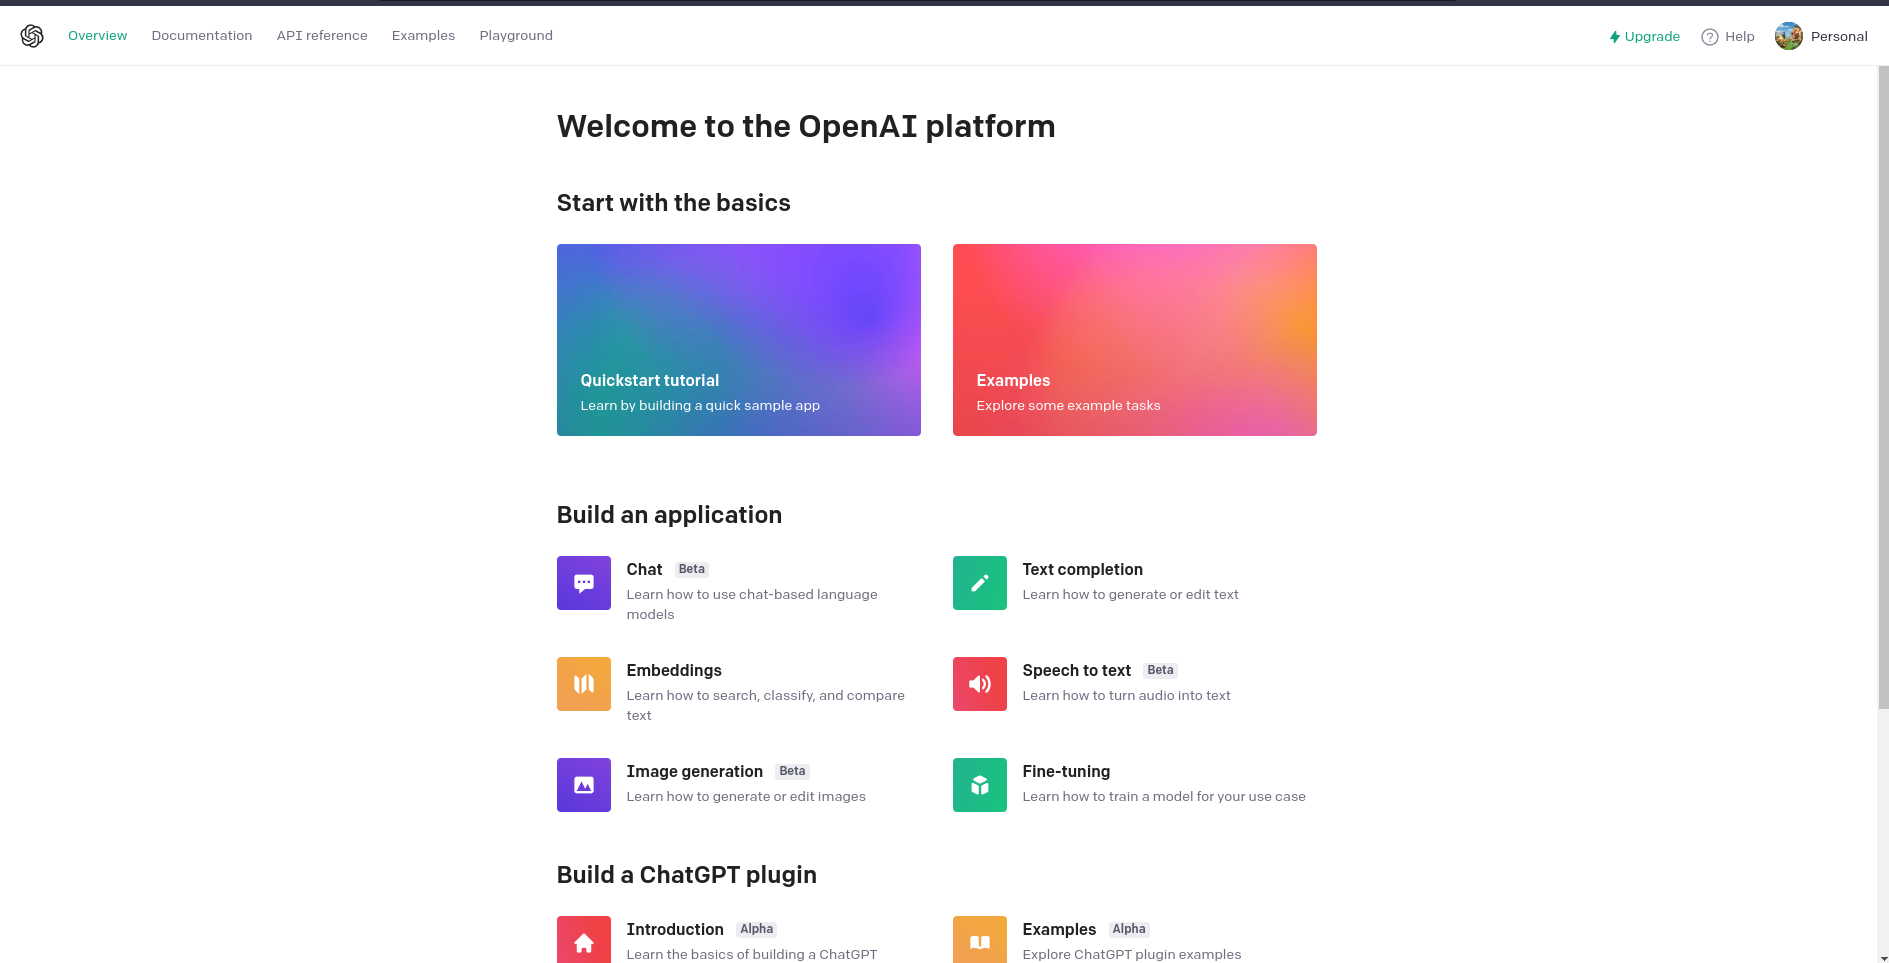
Navigate to the API section: Once you’re logged in, navigate to the API section of your OpenAI account. You can usually find it in the account dashboard or under the API tab.
-
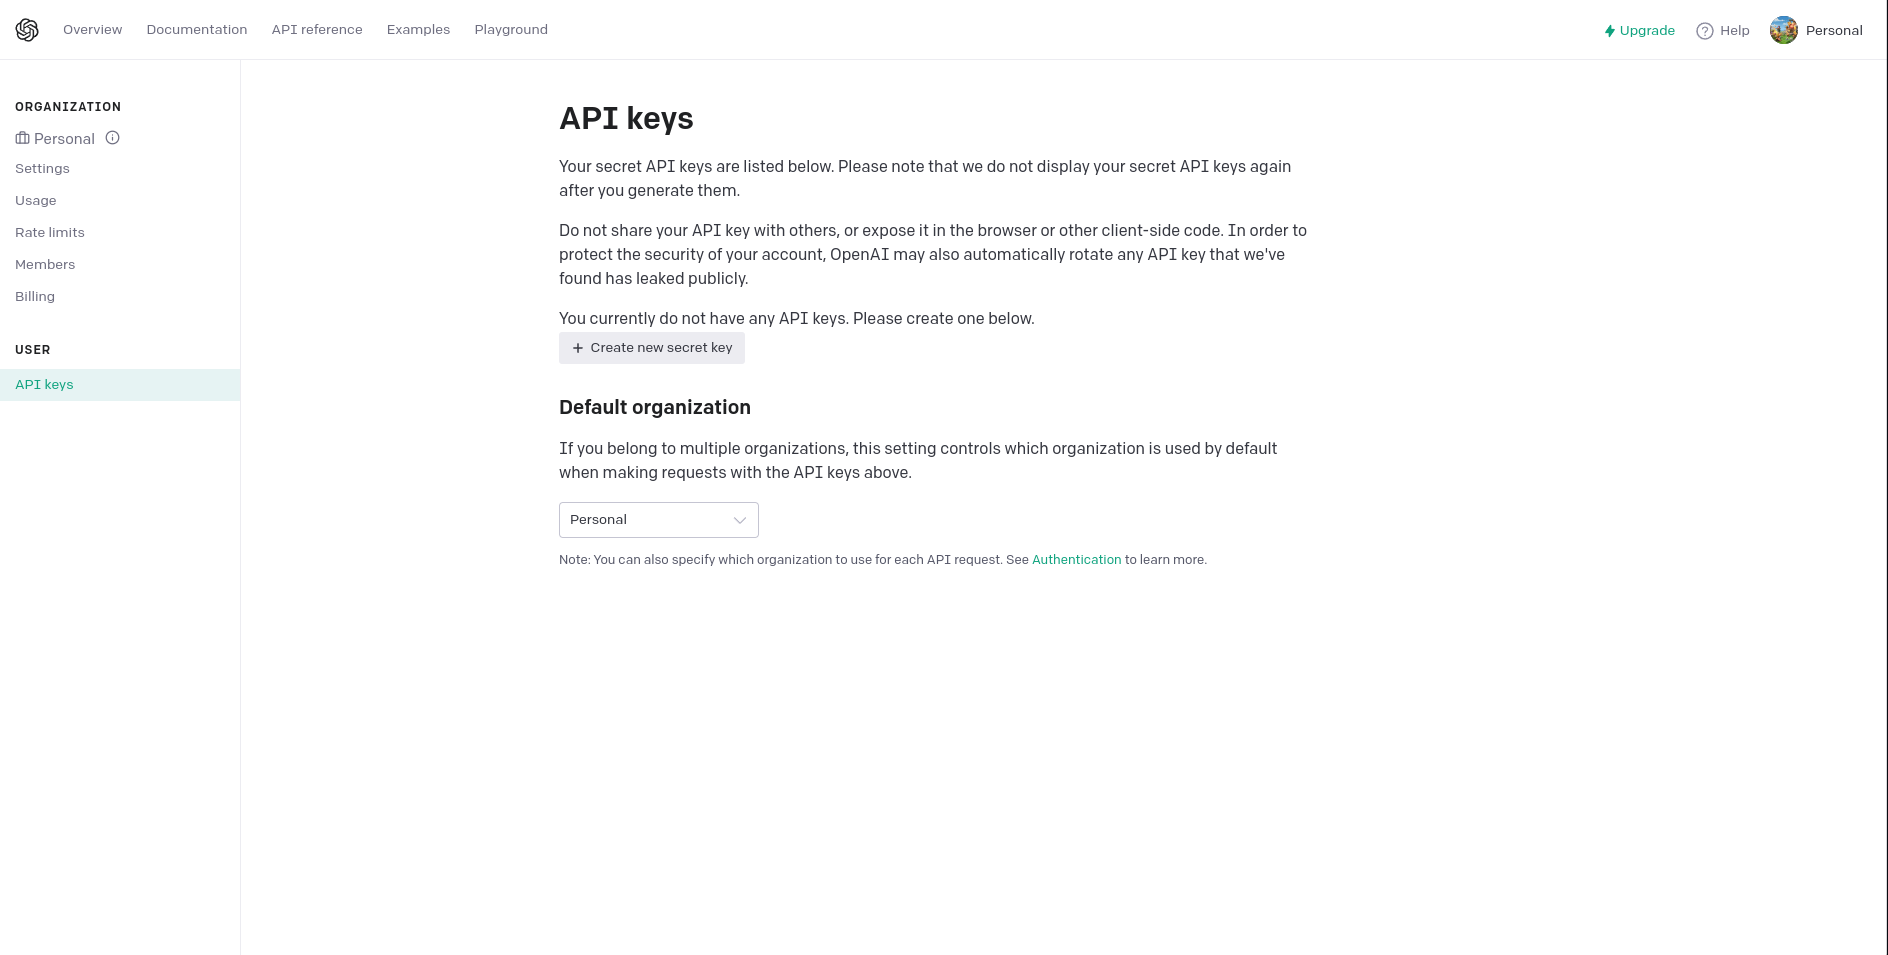
Create a new API key: Look for an option to create a new API key. It may be labeled as “Generate API Key” or something similar. Click on it to proceed.
-
Copy and secure the API key: After the API key is generated, it will be displayed on the screen. Copy the API key and store it securely. Treat it as a sensitive piece of information, similar to a password, as it provides access to your OpenAI account and services.
-
Start using the API key: With the API key generated, you can start integrating it into your applications or projects that interact with OpenAI services. Refer to the OpenAI documentation or relevant resources for instructions on how to use the API key with specific programming languages or frameworks.
Important Note:
Remember to handle your API key securely and avoid sharing it publicly or committing it to public repositories. It’s good practice to store it in a secure environment or use configuration files that are excluded from version control.
Building Applications with OpenAI API: Phoenix-AI
Phoenix-AI is an innovative web application that harnesses the power of OpenAI’s API to create an intuitive and interactive user experience. With Phoenix-AI, you can leverage the capabilities of OpenAI’s GPT models to generate dynamic and contextually relevant text output.
Setting Up the Node.js Project
To get started with Phoenix-AI, follow these simple steps to set up the Node.js project:
- Create a new directory for your project and navigate into it using the terminal:
mkdir Phoenix-AI
cd Phoenix-AI
- Initialize the Node.js project and provide the required information as prompted:
npm init
- Create a “public” folder to store the client-side files:
mkdir public
cd public
- Inside the “public” folder, create an HTML file, CSS folder, JavaScript folder, and an images folder:
touch index.html
mkdir css js images
- Within the “css” folder, create a CSS file to style your web application:
cd css
touch style.css
- Within the “js” folder, create a JavaScript file to handle client-side functionality:
cd ../js
touch script.js
- Return to the root project directory and create a server file:
cd ..
touch app.js
Now that you have the basic project structure in place, it’s time to start coding the application.
Developing the Phoenix-AI Application
In your editor, open the index.html file located in the public folder. Add the necessary HTML markup, including input fields, buttons, and result containers, to create the user interface for your application. Use the provided CSS file (style.css) to style the elements according to your preferences.
In the script.js file, write the JavaScript code to handle user interactions and make API calls to OpenAI. You can use the fetch function to send requests to the OpenAI API endpoint, passing the appropriate headers and payload. Upon receiving the response, update the UI with the generated output.
In the app.js file, set up a Node.js server using the Express framework. Configure the server to serve the static files from the public folder and define the necessary routes to handle API requests from the client-side. Utilize the OpenAI API key to authenticate and authorize the requests.
Feel free to enhance the functionality and design of your Phoenix-AI application by incorporating additional features such as user authentication, error handling, and result customization.
Running the Phoenix-AI Application
To run the Phoenix-AI application, follow these steps:
- Install the required Node.js dependencies by executing the following command in the terminal:
npm install express
- Start the server by running the command:
node app.js
- Open a web browser and navigate to
http://localhost:1313, where<1313>is the port number specified in yourapp.jsfile.
Congratulations! You have successfully set up and developed the Phoenix-AI application. Now you can leverage the power of OpenAI’s API to generate dynamic and contextually relevant text outputs within your web application.
Enjoy exploring the possibilities of language generation with Phoenix-AI!
Project Structure
Pheonix-AI
 ├─public
 │  ├─js
 │  │  └─script.js
 │  ├─css
 │  │  └─stles.css
 │  └─images
 ├─index.html
 ├─app.js
 └─node_modules
Project Code:
Script.jS File
//  Version 1.0.7: HTML Version 1.0.7
const submit = document.getElementById("submit");
const userInput = document.getElementById("user-input");
const chatHistory = document.getElementById("chat-history");
const loading = document.getElementById("spinner");

let promptResponses = [];

// Function to format code snippets
const formatCodeSnippet = (code) => {
    return `<pre><code>${code}</code></pre>`;
}

const generateResponse = async () => {
    loading.classList.remove("visually-hidden");
    submit.classList.add("visually-hidden");
    const input = userInput.value;
    const isCodeSnippet = input.startsWith("// Code snippet example");

    let response;
    if (isCodeSnippet) {
        response = formatCodeSnippet(input);
    } else {
        const apiResponse = await fetch('/chat', {
            method: 'POST',
            body: JSON.stringify({
                model: "gpt-3.5-turbo",
                messages: [{ "role": "user", "content": input }],
                temp: 0.6
            }),
            headers: {
                'Content-Type': 'application/json'
            }
        });

        const responseData = await apiResponse.json();
        response = responseData.result[0].message.content;
    }

    promptResponses.push({ question: input, response });
    userInput.value = "";

    const historyElement = document.createElement('li');
    historyElement.classList.add("list-group-item", "message");
    historyElement.innerHTML = `
        <div class="user-message">${formatCodeSnippet(input)}</div>
        <div class="bot-message">${isCodeSnippet ? response : formatCodeSnippet(response)}</div>
    `;
    chatHistory.appendChild(historyElement);

    loading.classList.add("visually-hidden");
    submit.classList.remove("visually-hidden");
}

submit.onclick = generateResponse;
Index.HTML
Code Explain
The provided code snippet is an HTML file that represents the structure and layout of a chatbot interface. Here’s an explanation of each section:
- Document Type Declaration: Specifies the HTML version and document type.
- HTML Structure: Starts the HTML document and defines the language attribute for the page.
- Head Section: Contains meta tags for character encoding, browser compatibility, and viewport settings. Additionally, it includes a title tag for the page and links to external CSS and JavaScript files.
- Body Section: Contains the content of the webpage.
- Container: A container div with a margin-top of 5 (mt-5) that wraps the entire chatbot interface.
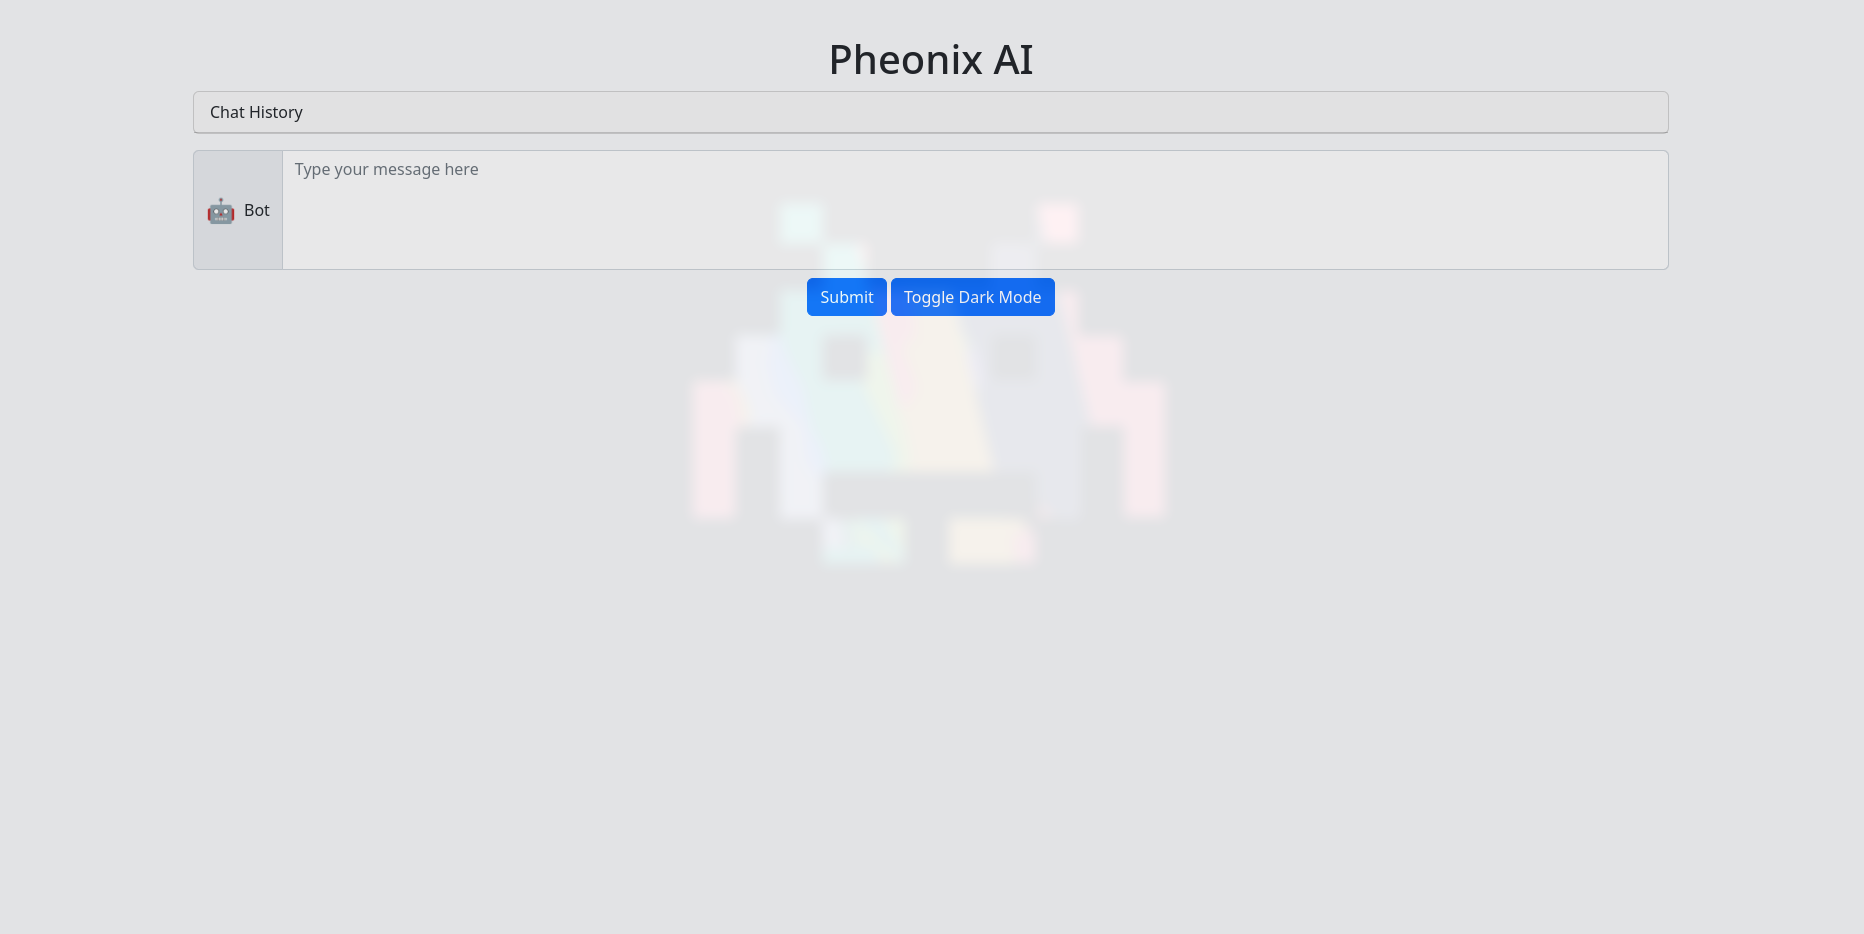
- Heading: Displays the heading “Pheonix AI” at the center of the page.
- Card: Represents the chat history section with a card design. The card has a header displaying “Chat History” and an empty unordered list (ul) with the id “chat-history” for displaying chat messages.
- Input Group: Contains an input group for user input. It consists of an input field with the id “user-input” and a label with a bot icon and the text “Bot”.
- Text Center and Buttons: Contains a text-center div with buttons for submitting the message, toggling dark mode, and a spinner icon (visually hidden by default) for indicating loading state.
- JavaScript Dependencies: Includes script tags for loading jQuery and Bootstrap JS files from CDNs.
- Custom JavaScript: Contains a script tag with JavaScript code. It selects the dark mode toggle button and the body element, and adds an event listener to toggle the “dark-mode” class on the body when the button is clicked.
The HTML code sets up the basic structure of the chatbot interface, including the chat history, user input field, buttons, and dark mode toggle functionality.
Code
<!--  Version 1..0.8: Dark mode colors and goes with Js file version 1.0.7   -->
<!DOCTYPE html>
<html lang="en">

<head>
    <meta charset="UTF-8">
    <meta http-equiv="X-UA-Compatible" content="IE=edge">
    <meta name="viewport" content="width=device-width, initial-scale=1.0">
    <title>My Chatbot</title>
    <link href="https://cdn.jsdelivr.net/npm/bootstrap@5.2.3/dist/css/bootstrap.min.css" rel="stylesheet"
        integrity="sha384-rbsA2VBKQhggwzxH7pPCaAqO46MgnOM80zW1RWuH61DGLwZJEdK2Kadq2F9CUG65" crossorigin="anonymous">
    <link rel="stylesheet" href="css/style.css">
</head>

<body>
    <div class="container mt-5">
        <h1 class="text-center">Pheonix AI</h1>
        <div class="card">
            <div class="card-header">
                Chat History
            </div>
            <ul id="chat-history" class="list-group list-group-flush">
            </ul>
        </div>
        <div class="input-group">
            <span class="input-group-text">
                <span class="bot-icon" role="img" aria-label="Bot">🤖</span>Bot
            </span>
            <textarea id="user-input" class="form-control" aria-label="With textarea"
                placeholder="Type your message here"></textarea>
        </div>
        <div class="text-center mt-2">
            <button id="submit" type="button" class="btn btn-primary">Submit</button>
            <button id="dark-mode-toggle" type="button" class="btn btn-primary">Toggle Dark Mode</button>
            <div id="spinner" class="spinner-grow text-primary visually-hidden mt-2" role="status"></div>
        </div>
    </div>

    <script src="https://code.jquery.com/jquery-3.6.0.min.js"
        integrity="sha384-6H3L42Zm48Hy6z0Yy2gblgj4f4k8li8k2Q59Pz/QHYBHNXgOZxt4Iguzua4KqEM2"
        crossorigin="anonymous"></script>
    <script src="https://cdn.jsdelivr.net/npm/bootstrap@5.2.3/dist/js/bootstrap.bundle.min.js"
        integrity="sha384-kenU1KFdBIe4zVF0s0G1M5b4hcpxyD9F7jL+jjXkk+Q2h455rYXK/7HAuoJl+0I4"
        crossorigin="anonymous"></script>
    <script src="js/script.js"></script>
    <script>
        const darkModeToggle = document.getElementById("dark-mode-toggle");
        const body = document.body;

        darkModeToggle.addEventListener("click", () => {
            body.classList.toggle("dark-mode");
        });
    </script>
</body>
</html>
CSS file
Code Explain
The provided code snippet contains CSS styles for customizing the appearance of a chatbot interface. Here’s a breakdown of what each section of the code does:
-
Background and Container Styles: Sets the background color of the body and limits the maximum width of the container element.
-
Card and Chat History Styles: Defines styles for the chat history container, limiting its height and enabling vertical scrolling. Also sets the height of the user input area.
-
Icon and Message Styles: Specifies styles for the bot icon and user/bot messages, including background colors and margins.
-
Dark Mode Styles: Defines styles for the dark mode version of the chatbot interface, adjusting background colors, text colors, and button styles accordingly.
-
Code Snippet Styles: Sets styles for code snippets within chat messages, including padding, borders, and background colors.
-
Chat History Item Styles: Defines styles for individual chat history items, including background colors for user and bot messages.
-
Dark Mode Chat History Styles: Specifies styles for chat history items in dark mode, adjusting background colors and text colors.
These styles can be used to customize the visual appearance of a chatbot interface, including the background, message colors, code snippet formatting, and dark mode styles.
Code
            /* Additional custom styles can be added here */
body {
    background-color: #f8f9fa;
}

.container {
    max-width: 1500px;
}

.card {
    margin-bottom: 1rem;
}

#chat-history {
    max-height: 400px;
    overflow-y: auto;
}

#user-input {
    resize: none;
    height: 120px;
}

.bot-icon {
    font-size: 1.5rem;
    margin-right: 0.5rem;
}

.user-message {
    background-color: #f1f1f1;
}

.bot-message {
    background-color: #d6edff;
}

/* Dark mode styles */
.dark-mode {
    background-color: #000;
    color: #fff;
}

.dark-mode .card-header {
    background-color: #000;
    color: #fff;
}

.dark-mode #chat-history,
.dark-mode .user-message,
.dark-mode .bot-message {
    background-color: #111;
    color: #fff;
}

.dark-mode #user-input {
    background-color: #111;
    color: #fff;
}

.dark-mode .bot-icon {
    color: #d4af37;
}

.dark-mode .btn-primary {
    background-color: #007bff;
    border-color: #007bff;
}

.dark-mode .btn-primary:hover {
    background-color: #000;
    border-color: #000;
}

/* Code snippet styles */
.message pre {
    margin: 0;
    padding: 0.5rem;
    border: 1px solid #dee2e6;
    border-radius: 0.25rem;
    white-space: pre-wrap;
}

.message.user-message pre {
    background-color: #d4edda;
}

/* Chat history styles */
#chat-history .list-group-item {
    border: none;
    background-color: #f8f9fa;
}

#chat-history .list-group-item.user-message {
    background-color: #d4edda;
}

#chat-history .list-group-item.bot-message {
    background-color: #d6edff;
}

/* Dark mode chat history styles */
.dark-mode #chat-history .list-group-item {
    background-color: #111;
    color: #fff;
}

.dark-mode #chat-history .list-group-item.user-message {
    background-color: #1a5316;
}

.dark-mode #chat-history .list-group-item.bot-message {
    background-color: #0d4b80;
}
App.js File
Code Explain
This code represents a Node.js application that sets up an Express server and interacts with the OpenAI API. Here’s an explanation of each section:
- Dependencies: The code requires several dependencies to be installed, including express, path, openai, and dotenv. These dependencies are imported using the require function. dotenv is used to load environment variables from a .env file.
- Initializing the Express app: The express module is used to create an instance of the Express application.
- Port: The port variable is set to 1313 or the value of the PORT environment variable. This determines the port on which the server will listen for incoming requests.
- JSON Parser: The express.json() middleware is used to parse incoming JSON requests.
- Public Directory: The publicDirectory variable is set to the path of the “public” directory, which will be used to serve static files such as HTML, CSS, and JavaScript files.
- URL-encoded Parser: The express.urlencoded() middleware is used to parse URL-encoded requests.
- Configure OpenAI: The OpenAI API is configured by creating a new instance of openai.Configuration and providing the organization and API key from the environment variables.
- Routes: The code defines two routes:
- The ‘/’ route responds with the index.html file located in the root directory.
- The ‘/chat’ route handles a POST request, retrieves the message data from the request body, and calls the OpenAI API’s createChatCompletion method to generate a response. The response is then sent back as JSON.
- Server Start: The server is started by calling the app.listen() method, which specifies the port to listen on. A console log is included to indicate that the server is running.
This code sets up a basic Express server that serves static files and provides an API endpoint for interacting with the OpenAI API. It listens for incoming requests on the specified port and handles the /chat route to generate chatbot responses.
Code
//  Dependencies: express, path, openai, dotenv
const openai = require('openai');
require('dotenv').config();
const express = require('express');
const path = require('path');

// Initializing the express app
const app = express();
// Port
const port = 1313 || process.env.PORT;

//  Json Parser
app.use(express.json());
// Public Directory
const publicDirectory = path.join(__dirname, "./public");
app.use(express.static(publicDirectory));

app.use(express.urlencoded({ extended: false }));

//Configure OpenAI
const configuration = new openai.Configuration({
    organization: process.env.OPENAI_ORG,
    apiKey: process.env.OPENAI_API_KEY,
});

const openaiapi = new openai.OpenAIApi(configuration);

app.get('/', (req, res) => {
    res.sendFile(path.join(__dirname, '/index.html'));
});


// Calling the /chat route and passing data to the server
app.post('/chat', async (req, res) => {
    const messages = req.body.messages;
    const model = req.body.model;
    const temp = req.body.temp;

    const completion = await openaiapi.createChatCompletion({
        model: model,
        messages: messages,
        temperature: temp,
    });
    res.status(200).json({ result: completion.data.choices });
});

// Running the server on PORT 1313
app.listen(port, () => {
    console.log(`Pheonix AI is Running on PORT: ${port}`);
});
Package.json File:
Code Explain
This code represents a package.json file, which is used to manage the dependencies, scripts, and metadata of a Node.js project. Here’s an explanation of each section:
- name: Specifies the name of the project, in this case, “chatbot”.
- version: Specifies the version number of the project, “1.0.0” in this case.
- description: Provides a brief description of the project, indicating that it is a personal chatbot using the OpenAI API.
- main: Specifies the entry point file for the application, “app.js” in this case.
- scripts: Defines various scripts that can be executed using npm run
. It includes a “test” script and a “start” script that uses nodemon to run the “app.js” file. - repository: Indicates the type of repository (git) and the URL where the project is hosted on GitHub.
- author: Specifies the name of the author of the project, “Abdul Rafay” in this case.
- license: Specifies the license under which the project is distributed, “ISC” in this case.
- bugs: Specifies the URL where issues or bugs can be reported for the project on GitHub.
- homepage: Specifies the URL of the project’s homepage or documentation on GitHub.
- dependencies: Lists the dependencies required by the project, including libraries such as Bootstrap, Express, EJS, and others. The versions of these dependencies are specified using the caret (^) symbol, which allows for compatible updates.
This package.json file serves as a configuration file for the project, providing important information about the project and its dependencies. It helps manage the project’s development environment and allows for easy installation of dependencies and execution of scripts.
Code:
{
  "name": "chatbot",
  "version": "1.0.0",
  "description": "This is a personal chatbot using OPENAI api",
  "main": "app.js",
  "scripts": {
    "test": "echo \"Error: no test specified\" && exit 1",
    "start": "nodemon app.js"
  },
  "repository": {
    "type": "git",
    "url": "git+https://github.com/rafay99-epic/ChatBot.git"
  },
  "author": "Abdul Rafay",
  "license": "ISC",
  "bugs": {
    "url": "https://github.com/rafay99-epic/ChatBot/issues"
  },
  "homepage": "https://github.com/rafay99-epic/ChatBot#readme",
  "dependencies": {
    "bootstrap": "^5.2.3",
    "consolidate": "^0.16.0",
    "dotenv": "^16.0.3",
    "ejs": "^3.1.9",
    "ejs-template": "^0.1.0",
    "express": "^4.18.2",
    "nodemon": "^2.0.22",
    "openai": "^3.2.1",
    "path": "^0.12.7",
    "swig": "^1.4.2"
  }
}
Project UI
This is the UI of the Project.
Dark Mode

Light Mode
Conclusion:
In conclusion, the Pheonix-AI project showcases the practical implementation of OpenAI’s GPT models in a web application. By combining Node.js, HTML, CSS, and JavaScript, the project demonstrates how developers can leverage the power of GPT models to enhance user experiences and generate dynamic text.
The Pheonix-AI application provides a user-friendly interface through which users can input data and receive relevant output generated by the GPT model. By following the provided instructions and utilizing the OpenAI API, developers can easily set up their own instance of the application and customize it to their specific needs.
This project serves as an excellent example of how GPT models can be integrated into real-world applications. From content generation to personalized responses, the possibilities are vast. By harnessing the language generation capabilities of GPT models, developers can create innovative solutions that provide value to users and streamline various tasks.
The availability of API access for GPT models opens up a world of opportunities for developers to leverage cutting-edge language generation capabilities. As GPT models continue to evolve and improve, we can expect even more impressive results and applications in the field of natural language processing.
The Pheonix-AI project not only showcases the capabilities of GPT models but also serves as a foundation for further exploration and development. By building upon this project, developers can dive deeper into the potential of GPT models and contribute to the advancement of language generation technology.
In summary, the Pheonix-AI project exemplifies the fusion of machine learning, AI, and web development, offering a practical demonstration of how GPT models can be integrated into applications. With the power of GPT models at their disposal, developers have the opportunity to create intelligent, interactive, and contextually aware applications that push the boundaries of what is possible in natural language processing.
With that, we will see you next time.❤️❤️
Credit
This article was written by Abdul Rafay and published on Future Insight.
Contact Us
If you encounter any issues or have any questions regarding any of the articles on this website, please do not hesitate to contact the website’s support team. Your feedback is important and the team is dedicated to providing prompt and effective assistance to ensure a positive user experience.
To access the contact page, simply click on the “Contact” tab in the navigation menu or visit the following URL: contact page. From there, you can fill out a contact form or find additional information on how to get in touch with the support team.
Don’t let any questions or concerns go unanswered - reach out to the support team for help and guidance. They are committed to providing excellent customer service and will do everything possible to ensure that you have a seamless experience on the website.
Supporting Materials
Here are all of the links and references that I used to write this blog, so feel free to visit them to get some more help.
GitHub Repository
Thumbnail