HTML is great—simple and fast for rendering webpages. However, there is a problem: code repetition. Writing the same code again and again for every page can be tedious. What if there was a way to write the code once and use it everywhere? That’s where EJS comes in. EJS is a templating engine that allows us to write code once and reuse it across multiple pages. Let’s get started!
Prerequisites:
First, you need to have Node.js installed on your system. To check if Node.js is installed, open your terminal (PowerShell on Windows, or Terminal on Linux) and enter the following command:
node --version
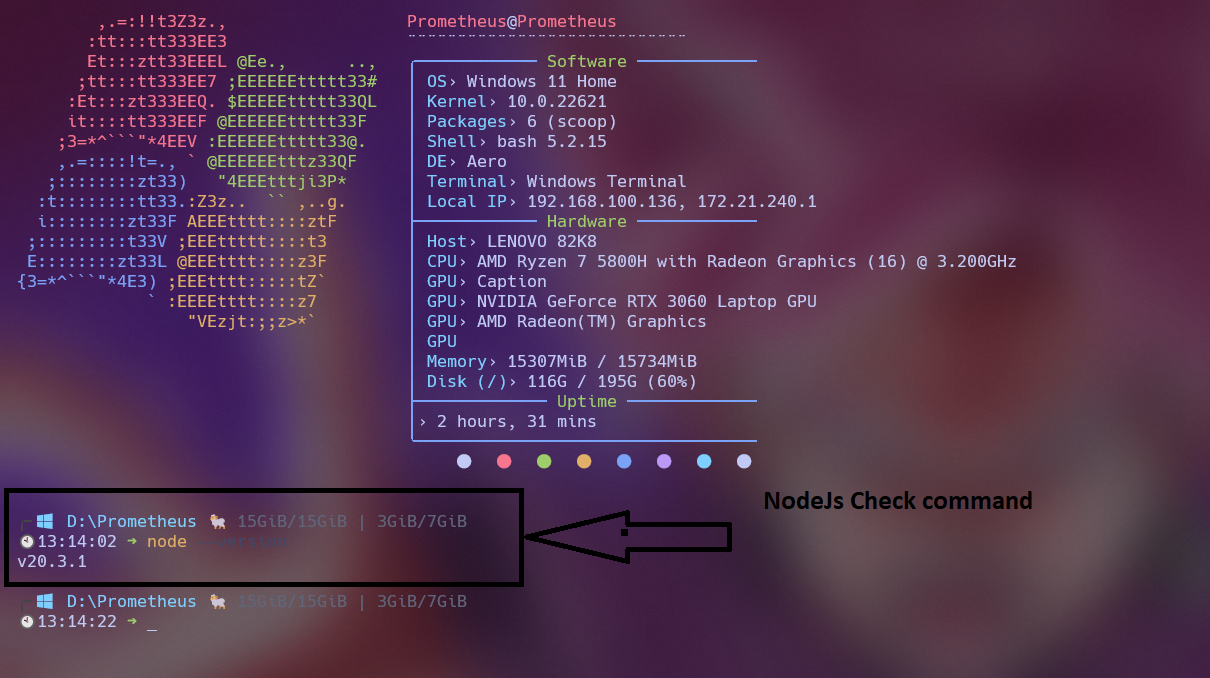
If you are using Linux, the command is the same as for Windows.
Installation:
If you haven’t installed Node.js yet, you can follow my previous guide by clicking here, In my pervious guide I have explained how to install Node.js on Windows, Linux, and macOS and the basic concepts of Node.js. If you have already installed Node.js, you can skip this step.
Creating a Project:
Now let’s create a project and install EJS in it.
Step 1 - Creating a Project:
To create a project in Node.js, open your terminal (PowerShell on Windows or Terminal on Linux) and enter the following commands:
mkdir ejs-nodejs
npm init
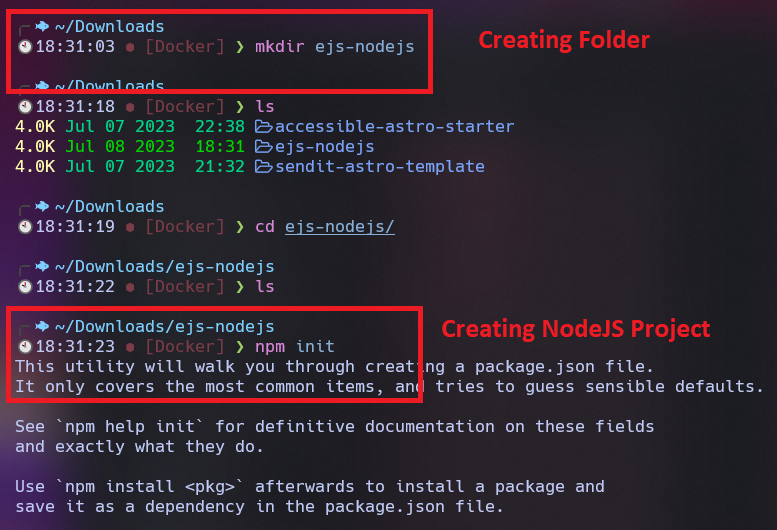
If you are using Linux, the commands are the same as for Windows. The mkdir command will create a folder named ejs-nodejs, and the npm init command will initialize the project. It will ask you some questions which you can answer or simply press Enter to skip.
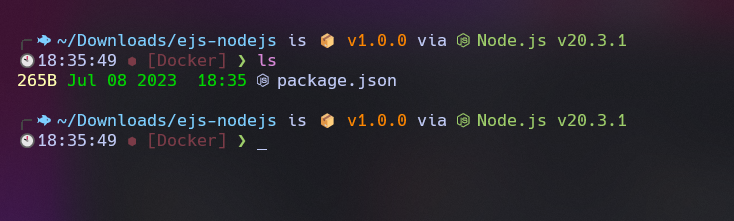
Once you have answered all the questions, you will see a package.json file in your project folder.
Step 2 - Installing Essential Packages:
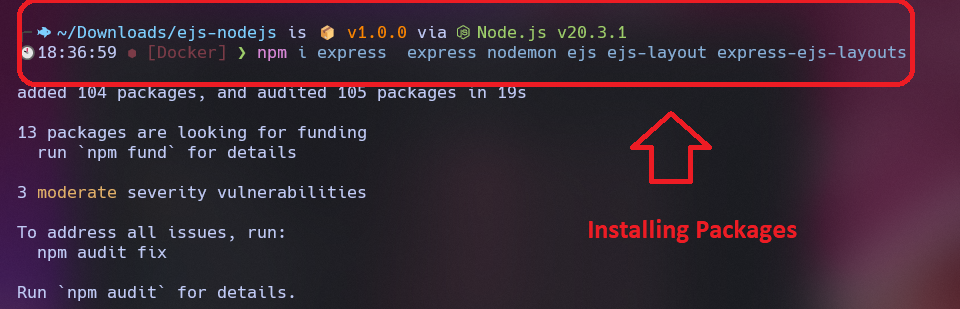
In the current folder, we have a package.json file. Now let’s install some packages that we need for our project. For this project, we will need several packages, including express, ejs, nodemon, ejs-layouts, and body-parser. You can find these packages on the npm website. Let’s install them using the following command:
npm install express ejs nodemon ejs-layout express-ejs-layouts body-parser
All these commands are the same for Linux and macOS.
Step 3 - Creating a Folder Structure:
Before we start coding, let’s create a folder structure. It’s easy to create the required folders. Here’s the structure:
ejs-nodejs
 ├─assets
 │  ├─css
 │  │  └─styles.css
 │  ├─js
 │  │  ├─main.js
 │  │  └─script.js
 │  └─image
 ├─routes
 │  └─pages.js
 └─views
    ├─partials
    │  ├─header.ejs
    │  ├─footer.ejs
    │  └─navbar.ejs
    ├─pages
    │  └─index.ejs
    ├─about
    │  └─about.ejs
    ├─contact
    │  └─contact.ejs
    ├─credit
    │  └─credit.ejs
    ├─portfolio-details
    │  └─project-detail.ejs
    ├─portfolio
    │  └─portfolio.ejs
    ├─resume
    │  └─resume.ejs
    └─service
       └─service.ejs
This folder structure organizes our project. ejs-nodejs is the main folder, and inside it, we have assets, routes, and views folders. Each folder serves a specific purpose and contains the necessary files for this project.
Step 4 - Creating a Server:
Now that we have installed all the required applications, it’s time to create a server. Before that, we need to create a server file called app.js. Let’s create it using the following command:
touch app.js
Now that we have the file, let’s code our server. Open app.js and add the following code:
const express = require('express');
const path = require('path');
const app = express();
const PORT = 8080;

// Serve static files from the 'assets' folder
app.use(express.static(path.join(__dirname, 'assets')));

// Set 'ejs' as the template engine
app.set('view engine', 'ejs');
app.set('views', path.join(__dirname, 'views'));

// Define routes
const pagesRouter = require('./routes/pages');
app.use('/', pagesRouter);

// Start the server
app.listen(PORT, () => {
  console.log(`Server is running on port ${PORT}`);
});
In this code, we use Express to start the server on port 8080. We serve static files from the ‘assets’ folder, set ‘ejs’ as the template engine, define routes using pagesRouter from routes/pages.js, and finally, start the server.
Step 5 - Creating a pages.js File:
Depending on the website, you may have multiple pages. For this project, we will create a file called pages.js and add all the page URLs to it. Then, we will import it into the app.js file. Let’s create pages.js and add the following code:
const express = require("express");
//getting the router for the webpages.
const router = express.Router();

//this will render the index pages
router.get("/", (req, res) => {
    res.render("./pages/index");
});

//this will render the portfolio-details pages

//this will render the web project called Smart Parking assistant
router.get("/portfolio-web", (req, res) => {
    res.render("portfolio-details/portfolio-web");
});

//This will render the runner game
router.get("/portfolio-apps-run-game", (req, res) => {
    res.render("portfolio-details/portfolio-apps-run-game");
});
//this will render the application called: "Application Installer for Linux"
router.get("/portfolio-apps-application-installer", (req, res) => {
    res.render("portfolio-details/portfolio-apps-application-installer");
});
//this will render the virus killing game
router.get("/portfolio-apps-virus-killer", (req, res) => {
    res.render("portfolio-details/portfolio-apps-virus-killer");
});

//this will render the script bot detail.
router.get("/portfolio-script-bot-class", (req, res) => {
    res.render("portfolio-details/portfolio-script-bot-class");
});

//this will render the update script script detail page
router.get("/portfolio-script-update-system", (req, res) => {
    res.render("portfolio-details/portfolio-script-update-system");
});

router.get("/portfolio-script-terminal-config", (req, res) => {
    res.render("portfolio-details/portfolio-script-terminal-config");
});
router.get("/one-power-detail", (req, res) => {
    res.render("portfolio-details/one-power-detail");
});

module.exports = router;
In this code, we create an Express router and define routes for each page. For example, the '/' route renders the pages/index view. You can add more routes for other pages following the same pattern.
Step 6 - Creating an index.ejs File:
Now, let’s create an index.ejs file that will serve as the main template for our website. This file will include other partials and render different sections of the page. Here’s the code for index.ejs:
<!DOCTYPE html>
<html lang="en">
<head>
    <%- include('../partials/head'); %>
    <title>Home Page</title>
</head>
<body>
     <header>
            <%- include('../partials/header'); %>
            <!-- Tracking Softwaare Umami Cloud -->
            <script async defer src="https://analytics.umami.is/script.js" data-website-id="5af65bc3-1cbf-43ab-8987-9af6cc4d4aef"></script>
    </header>
    <main>
        <!-- This is the about Section-->
        <section class="about" id="about">
            <%- include('../about/about'); %>
            <%- include('../about/count'); %>
            <%- include('../about/skills'); %>
            <%- include('../about/interest'); %>
        </section>

        <!-- This is the Resume Section -->
        <section class="resume" id="resume">
            <%- include('../resume/resume'); %>
        </section>

        <!-- This is the Service Page-->
        <section id="services" class="services">
            <%- include('../service/service'); %>
        </section>

        <!-- This is the protfolio Section -->
        <section id="portfolio" class="portfolio">
            <%- include('../portfolio/portfolio'); %>
        </section>

        <!-- This is the Contact Section -->
        <section class="contact" id="contact">
            <%- include('../contact/contact'); %>
        </section>

    </main>

    <footer>
        <%- include('../credit/credit' ); %>
        <%- include('../partials/footer'); %>
    </footer>

</body>
</html>
In this code, we have an HTML structure where we include different partials such as head, header, navbar, about, portfolio, contact, and footer. You can modify this code and create other partials according to your website’s needs.
Step 7 - Running the Project:
Once you have finished coding and added all the necessary code to `app
.js`, you can run the project by typing the following command in the terminal:
npm start
This command is the same for Windows, Linux, and macOS.
Package Json File
This is the package json file containing all the dependencies that will be used in this project. Also in this project we will define the testing script and nodemon setup everything related to this project will be configured in this file.
{
  "name": "portfolio-website",
  "version": "1.0.0",
  "description": "It's a blog and portfolio website for the author",
  "main": "app.js",
  "scripts": {
    "test": "echo \"Error: no test specified\" && exit 1",
    "start": "nodemon app.js"
  },
  "repository": {
    "type": "git",
    "url": "git+https://github.com/rafay99-epic/Portfolio-Website.git"
  },
  "author": "Abdul Rafay",
  "license": "ISC",
  "bugs": {
    "url": "https://github.com/rafay99-epic/Portfolio-Website/issues"
  },
  "homepage": "https://github.com/rafay99-epic/Portfolio-Website#readme",
  "dependencies": {
    "body-parser": "^1.20.0",
    "bootstrap": "^5.1.3",
    "bootstrap-icons": "^1.9.0",
    "ejs": "^3.1.8",
    "ejs-lint": "^1.2.2",
    "express": "^4.18.1",
    "nodemon": "^2.0.20"
  }
}
Conclusion
Congratulations! You have successfully set up EJS with Node.js. Now you can use EJS to write reusable code and create dynamic webpages without repeating the same code again and again.
Note: This blog post provides a basic overview of using EJS with Node.js. For a more detailed implementation and advanced features, you can refer to the code and the GitHub repository mentioned in the article’s references.
I hope this guide helps you in using EJS with Node.js. Happy coding! ❤️❤️
Credit:
This article was written by Abdul Rafay and published on Future Insight.
Contact Us:
If you encounter any issues or have any questions regarding any of the articles on this website, please do not hesitate to contact the website’s support team. Your feedback is important and the team is dedicated to providing prompt and effective assistance to ensure a positive user experience.
To access the contact page, simply click on the “Contact” tab in the navigation menu or visit the following URL: contact page. From there, you can fill out a contact form or find additional information on how to get in touch with the support team.
Don’t let any questions or concerns go unanswered - reach out to the support team for help and guidance. They are committed to providing excellent customer service and will do everything possible to ensure that you have a seamless experience on the website.
Supporting Materials
Here are all of the links and references that I used to write this blog, so feel free to visit them to get some more help.
Knowledge Nexus
GitHub Repository
Video WalkThrough
Thumbnail